Monday, July 2, 2012

Canon Rebel T4i vs T3i

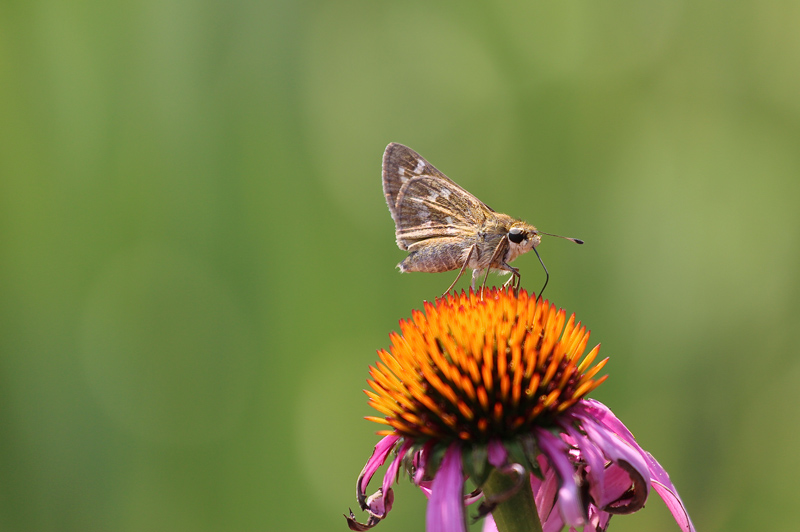
One of my first photos with my new T4i
Comparing the new Canon Rebel T4i and T3i turned out to be a fun exercise. It's actually the first time I have been able to do it with both cameras on hand, since I just purchased the T4i, and I already own the T3i.

First appearances can be deceptive. In this instance, the new Rebel looks just like a clone of the 600D (T3i). But if you look at the new digital SLR a bit further, you observe some astounding changes.

In order to "see" the reasons for a new release in this very popular camera series, you have to get your hands dirty, as it were. But first, take a look at the camera itself. You will have to find the name on the front of the camera to know which Rebel it actually is. The initial difference shows up on the mode dial at the top of the camera body.

Two new mode positions

What you will see is two new mode settings. They are "Hand Held Night" mode and "HDR with Backlight" mode.

The first new mode, "Hand-held Night" should be easy to figure out. Make use of this mode selection when it would typically be very difficult to get a good image due to the fact that the light is too low.

One of the sought features for new models is HDR. It gives the photographer a series of 3 shots, changing the exposure of each shot and then combining them into a single "High Dynamic Range" picture. This one feature is very attractive to a number of camera buyers.

New "Under the hood" Features

The brand new DIGIC 5 image processor is what drives this digital SLR. This is the first processor upgrade in quite some time. However, Canon has announced that this upgraded piece of hardware has 4 times the processing power of the DIGIC 4.

Going back a number of years, Canon Rebels (and more advanced models as well) have not increased the sensor size. It is an 18 megapixel CMOS sensor. Not only is this sensor in the latest Rebel models, but it is also the sensor of record in more professional models such as the Canon 60D and 7D.

In spite of being the same size, it is quite a bit different. The sensor is new in that it is a "hybrid CMOS AF" sensor. According to Canon, it is much better at recognizing focus such as face detection and continuous focus in Live View. Personally, this one difference between the T3i and my new T4i has possibly had the most impact.

"Visual Upgrades"

Canon is first out of the gate with a new feature to Digital SLR technology. The Rebel T4i is the first digital SLR with a touch-screen LCD. This is very cool, and it will entice some of you tekky folks with iPhone-like actions such as pinch to enlarge and swipe through your images by moving your finger across the LCD panel. Not only that, you can now select settings by touch. You don't have to learn which button to push or which direction to go using the myriad of selectors on the right side of the LCD screen.

ISO sensitivity has also been upgraded too. On the T3i, ISO max is 12800, but on the T4i that number has doubled to 25600.

The continuous shooting rate is yet another upgrade. Where the continuous shooting rate comes into play is in action photography, such as sports, pet activity, or children in constant motion. The new T4i has a continuous burst rate of 5.0fps vs 3.7fps in the T3i.

A new focus system which includes 9 cross-processing focus points vs one for the T3i is another impressive improvement. This focus system is similar to cameras that are considered in the pro and semi-pro range of digital SLRs.

Three elements of video have been upgraded.

* The T4i now has continuous auto focus in video mode. This is huge if you are one who shoots a lot of video.

* Touch screen focus is the second enhancement to video. Simply touch the interactive LCD, and the camera will focus on the point you indicated.

* Additionally, there is also better audio input. There are now two stereo mics repositioned on top of the camera to pick up sound much better. The videographer can also set the sound input level, something new for a Canon Rebel camera.

In general, the new Rebel T4i is looking good.

Posted by Wayne Rasku - WayneRasku.com

Sunday, January 15, 2012

Canon Rebel T3i For Macro Photography - 4 Helpful Tips

Macro Photography With A Canon Rebel T3i


Are you preparing to dive into macro, or close-up photography with your new Canon Rebel T3i Macro, or close-up, photography is at the top of many "I want to learn how to do this" lists, but, for some reason, it gets pushed to the back burner. Well, there is no time like the present to get started. With your T3i, it is ever so uncomplicated.

Should you already have a macro lens for these pictures, excellent. However, if you don't own one of those costly lenses especially manufactured for close-up work, have no fear, extension tubes are here! With a cheap set of extension tubes, you will be able to change almost any lens into a macro lens. Extension tubes fit between the lens and the camera and increase the distance from the lens to the camera sensor. This allows the camera to focus at a closer distance and essentially magnifies the image.

Macro photography - vintage buttons captured with Canon Rebel T3i and Sigma 105 macro lens
One of the best things about taking extremely close pictures of objects is the detail that is revealed. In close-up images, there are things that we would never notice. But take a close up shot and you will experience many OMG moments.

The fact is that this photographer, yours truly, had one of those moments when I created my very first macro image. That's when I began to take pictures of every bug that would stay in the view finder long enough. And when there was no bug available, I took pictures of flowers. I didn't realize that there are so many other interesting subjects to shoot in the tiny world of close up photography. Actually, almost any small object is worthy of your attention, including parts of your clothing like buttons and zippers as well as things like eyes and fingers. The only limitation is your imagination.

Here are a few hints to get you started on your macro photography journey with the Rebel T3i


  1. Start your engine. Even though this might sound too obvious, many of us get stuck in the mud, as it were, simply trying to figure out how to do something. While you could take lots of time to look for classes and study until you know all there is to know, instead, you can just start snapping. Training as the need arises is a great way to learn. Actually, "on the job" training works really well in photography.
  2. Permit poor results. This sort of goes "hand-in-hand" with hint #1. If you are afraid to make mistakes, you will never experience the thrill of what you discover through those mistakes. Some of your best shots will come as a result of something you did "wrong."
  3. Tripods are our friends. Close-up photos are prone to give the photographer lots of blur when trying to hand-hold the camera. In addition to the tripod, you can benefit from using the shutter release timer on your T3i, or you can get an inexpensive remote shutter release.
  4. Use Live View and focus manually. The Canon Rebel T3i has a fantastic feature that makes macro photography so much easier than most other cameras. It is the digital zoom feature when in Live View. Digital zoom is used to get a closer view of the subject so you can focus more accurately. At 5 times the magnification (or even 10 times), you can see clearly to focus. Personally, this is the feature that made me a believer in the Canon Rebel T3i.

That's it. Pretty simple, right? Hopefully, these few hints will get you started (and hooked).

Saturday, January 7, 2012

Street Photography Tips For Your Canon Rebel T3i

Street photography is one means to make use of your Canon Rebel T3i camera as a creative tool. But the camera is just half of the formula. You will also need a decent Canon Rebel lens for shooting portraits. That's where one of Canon's 50mm lens designs will qualify. There are three possibilities, those being the f/1.8, the f/1.4, and the f/1.2.
Street Photography Portrait #021
This was taken with a Canon 50mm lens on a 5D. Click the photo to see more.

Your choice as to which of these lenses you use is not as crucial as it might seem, considering the big difference in price. The f/1.8 is the cheapest bargain at about $100. After that the prices go up to about $350 for the f/1.4 and over $1000 for the f/1.2. Granted, the quality of build is undoubtedly different, but the image quality can be very close with all three.

But, in addition to the lens and camera, there's one more obstacle. If you are not comfortable talking with strangers, this could be a struggle for you to approach someone you don't know to ask for permission to make their picture. However, when you have tried it and succeeded more than once, it will become less difficult. This is particularly true once you see the amazing results. Street portraits are much more exciting than your common family portrait. That is, unless your cousin Jeremy or Auntie Claire is a colorful character and just as fascinating as some of the people you will meet at down-town locations and malls.

There are 5 camera tips which you might utilize to help you to be able to get those amazing shots after you get past the problem of shyness.
  1. Never ever head out without having the digital camera. All of us do it, but it is a better plan to keep on telling yourself that you shouldn't ever leave the house without it. After a couple of weeks of bringing the camera every time you depart office or home, and it is going to grow to be second nature. Absolutely nothing (well, practically nothing) more frustrating than coming upon a fantastic photo op out on the street when you don't have the picture taking tools in hand. And this doesn't imply that you have to carry the whole camera bag along with you. You simply need your Rebel and dependable Canon Rebel lens.
  2. You want to keep Canon 50mm lens on the dslr camera. You will find a couple of advantages of making use of this lens in lieu of one of the different choices. First, the 50mm is a nearly ideal portrait lens because of the high quality and huge aperture. And next, it's smaller and lightweight. It will not wear you out carrying it for a couple of hours. Furthermore, some folks can be put off by a large, showy piece of glass.
  3. Avoid the use of your flash. You will get natural shots with no flash, and on the street, this is also true. You can use the large aperture of the 50mm lens to obtain a good fast shutter speed, and if the brightness is very low, just boost the ISO of the Canon Rebel to speed up the shutter.
  4. Be ready before you decide to ask permission. Make sure all your camera configurations are accurate prior to approaching your prospect. It could actually ruin your possibilities if you have to stop and set fool with your camera as the subject is waiting for you.
  5. Have your model release forms ready. If you're going to display your photos in a public location, you need to obtain a release from the subject. The good news is that there is now an app for the iPad and the iPhone just for this. It is possible to go paperless!
That's it. You, too, could be a street photographer. Just go and shoot!

PS... You may want to visit here ==> http://www.canoneoslenses.org/50mm-lens-for-canon/ for more about the Canon 50mm lens lineup.